
Creating Soap Dishes
As DarionGlass prepares for the fall selling season, there are a variety of items that need to be created for inventory. One of these is the small 5” x 3.5” soap dishes.
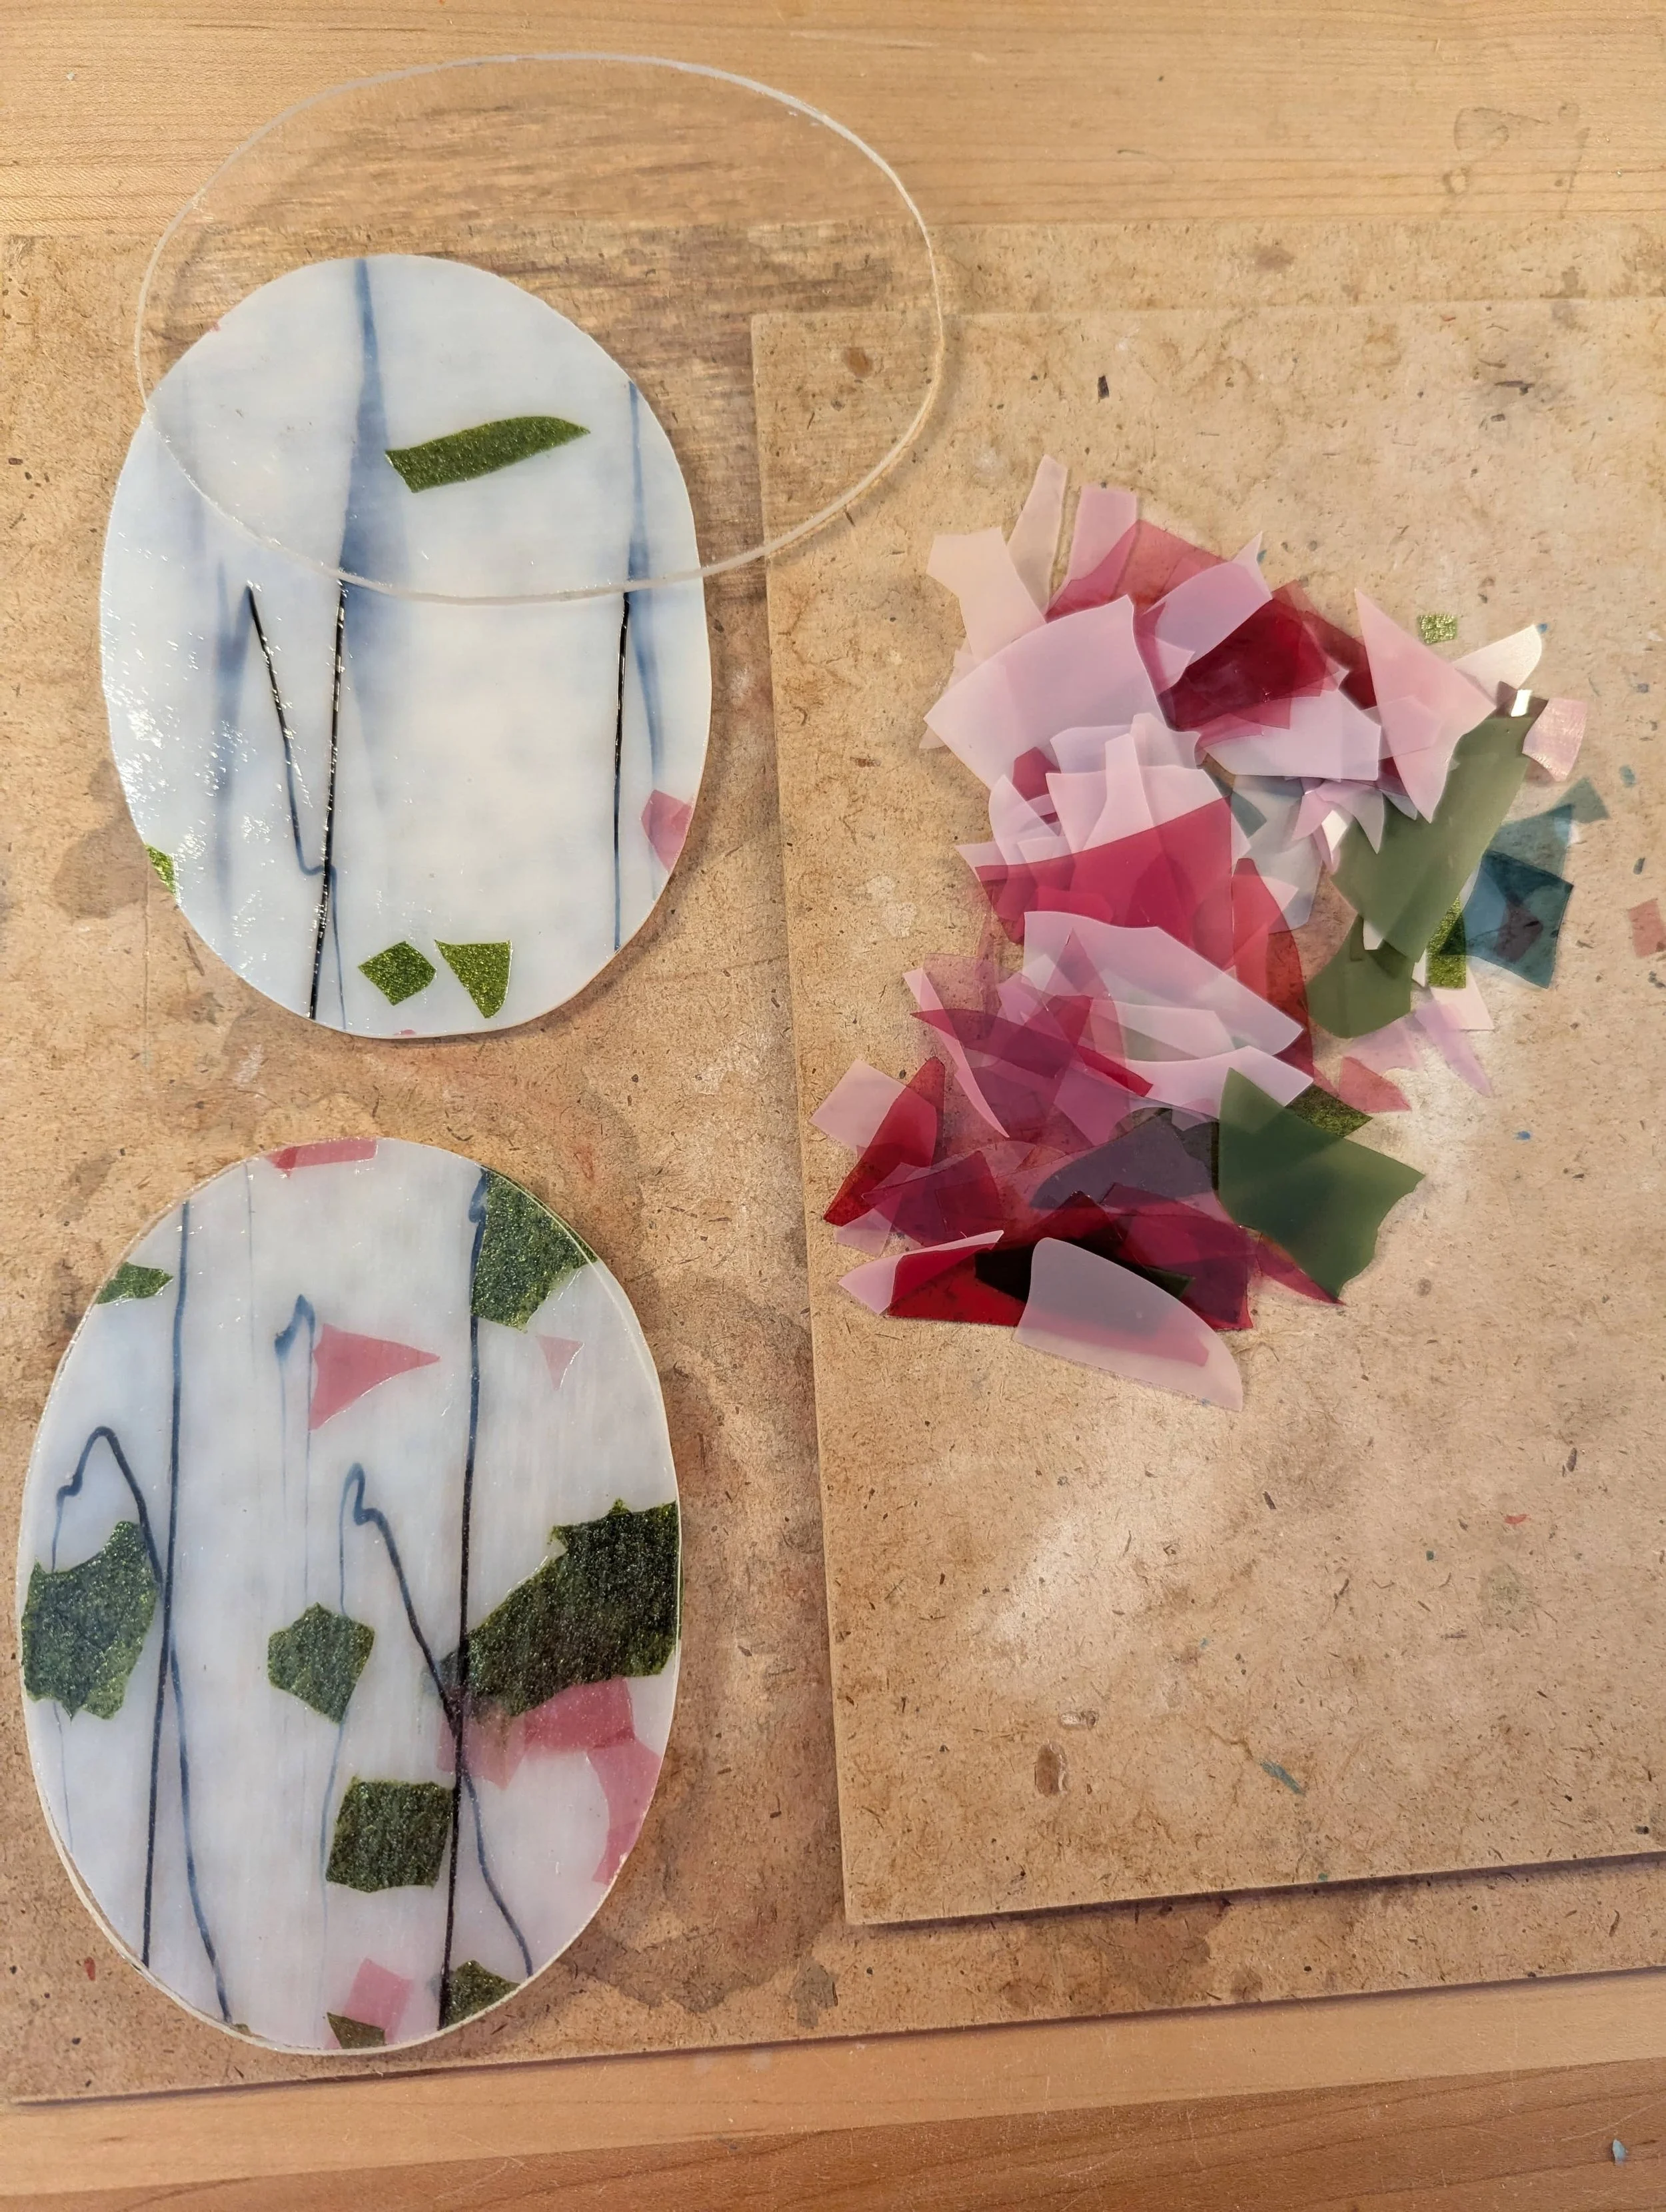
The process starts with selecting the glass. Shown here are the first two soap dishes cut out. There is one layer of decorative glass and a clear layer that will be placed on top for fusing. Both soap dishes were cut from the same piece of glass, but you can see that the pink and green accents are spread unevenly over the glass. To adjust the quantity of accents on the glass, the confetti glass on the right can be added. This glass is tissue paper thin and easily broken, so large pieces often break on their own in the container. After a few accents are added, the clear layer is placed on top and they are ready for the kiln.
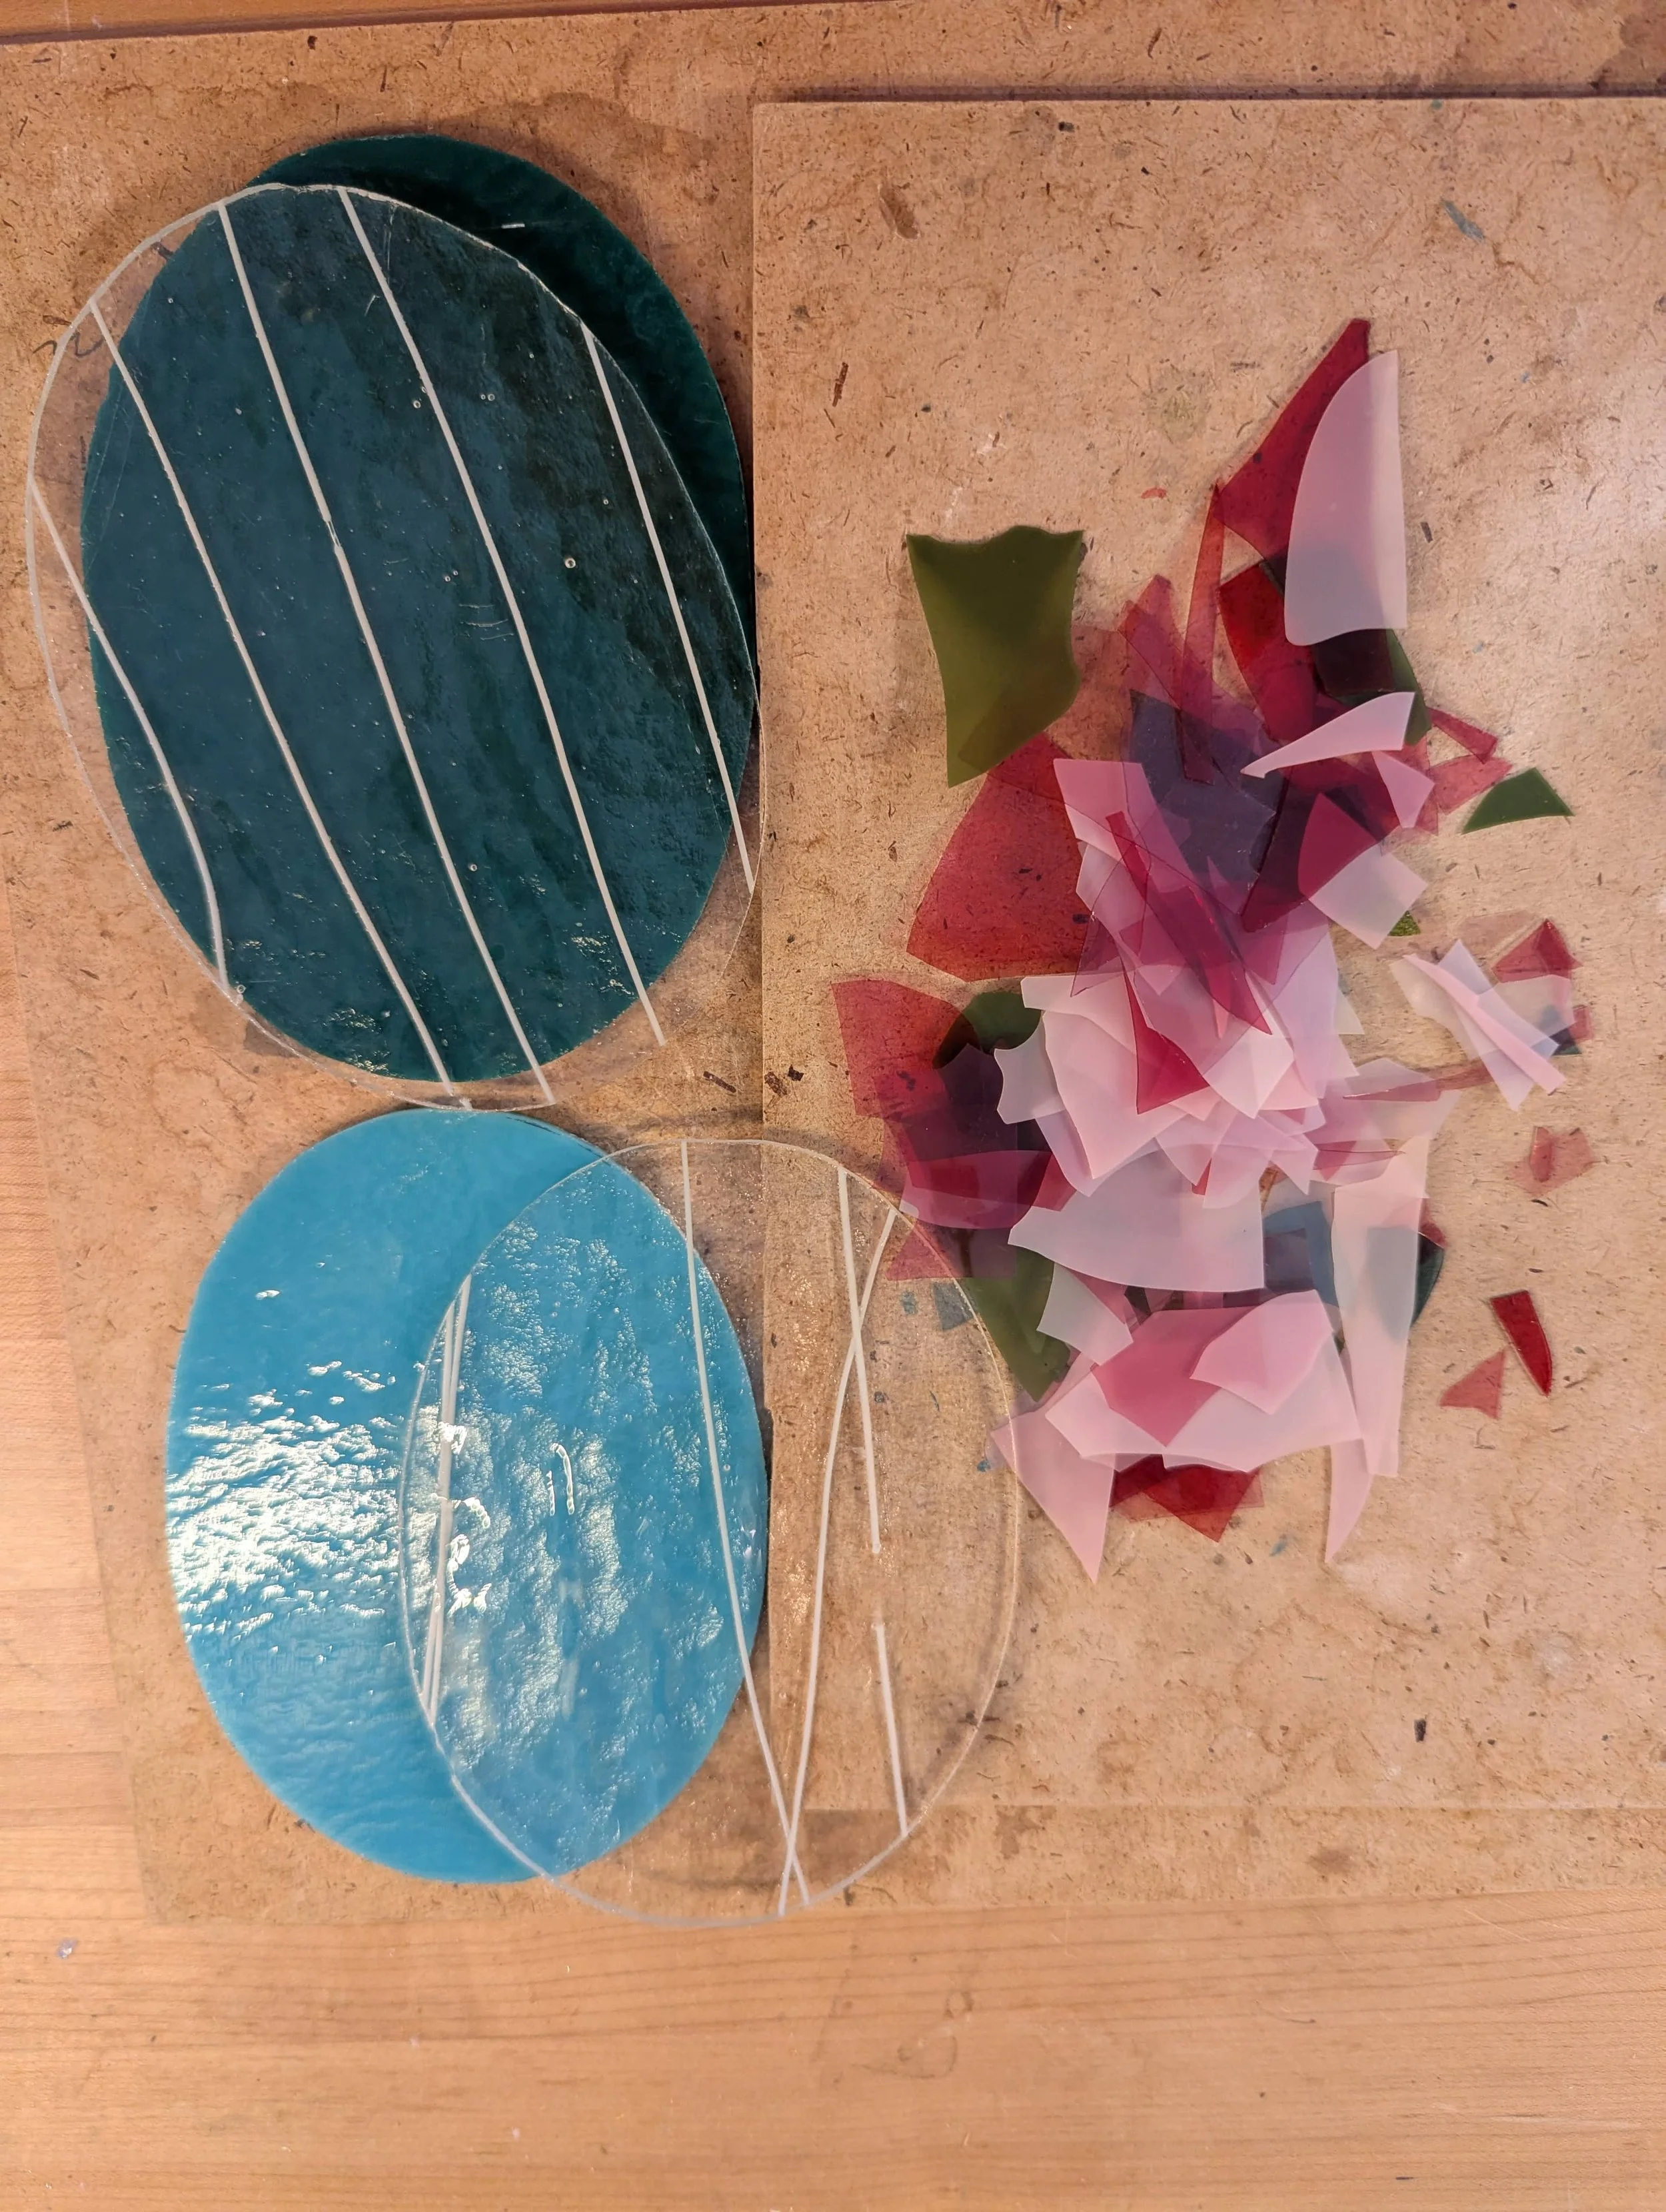
The next two soap dishes on the right begin with a solid color and the layer that will go on top is clear with a white streak. Again, the confetti glass is added on top of the solid glass in order to create some interest in the design. The clear layer is added on top because even with a full fuse, the confetti glass will leave a slightly uneven surface to the soap dish.
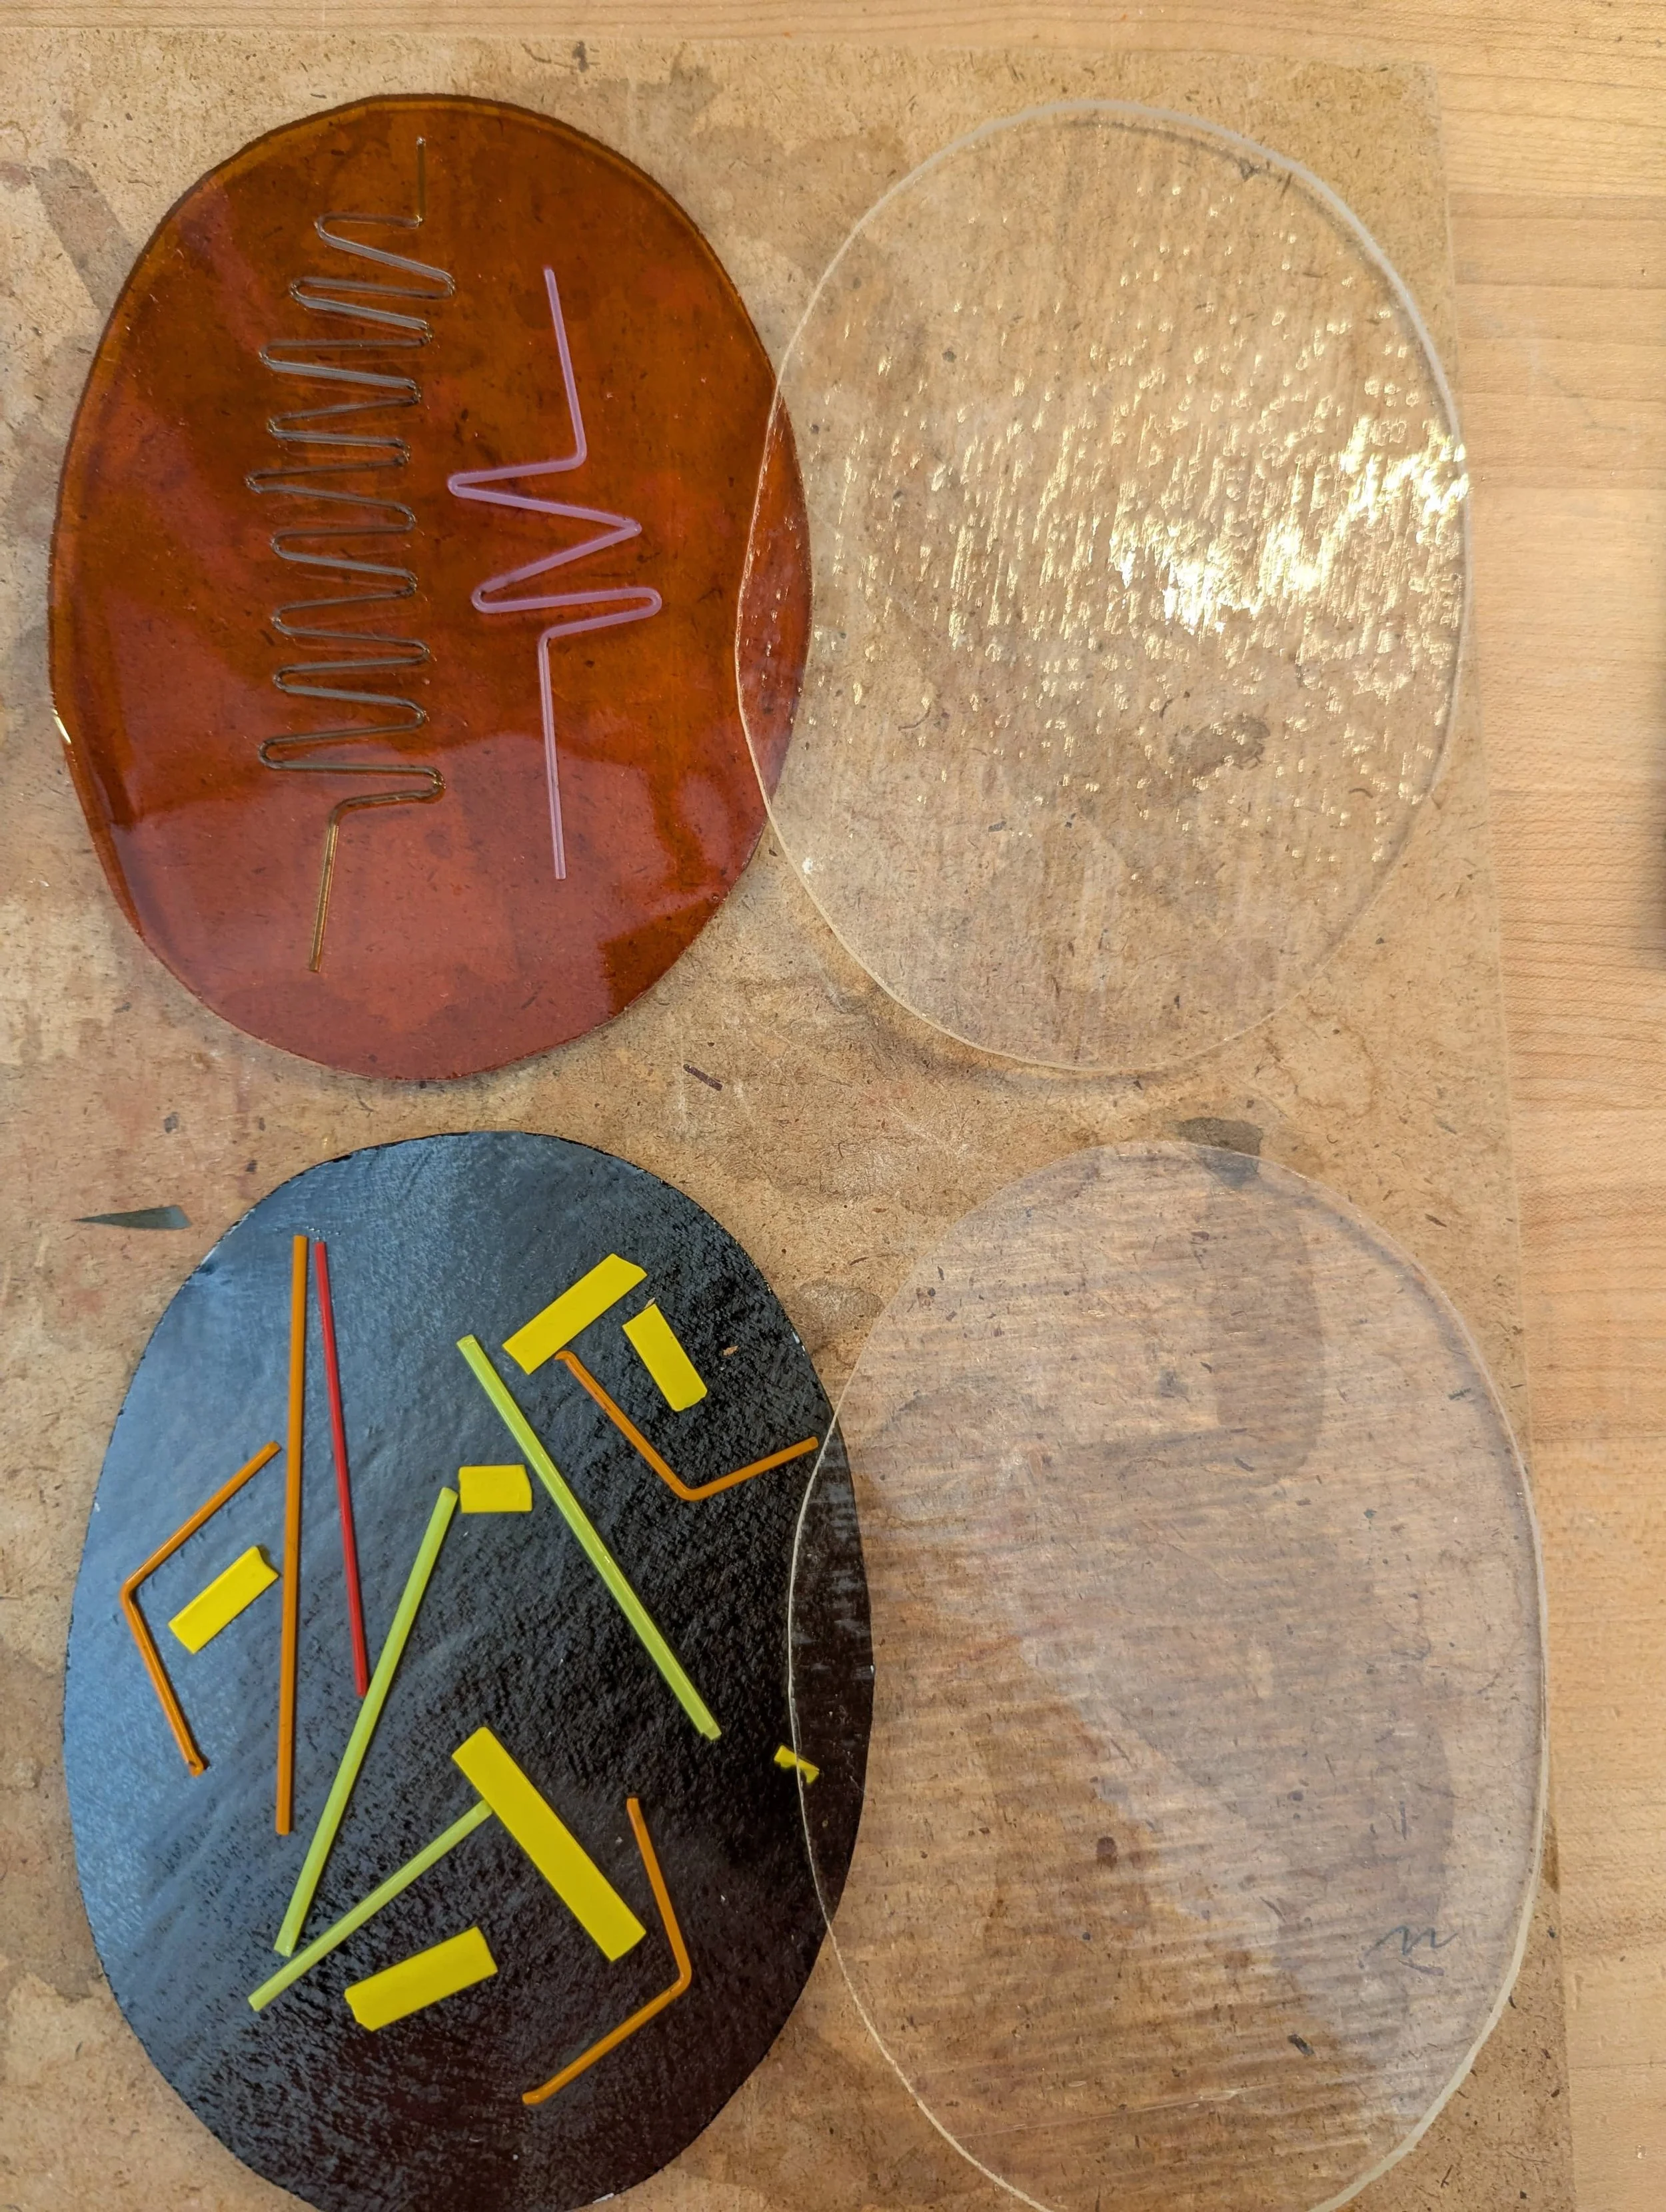
These next two soap dishes are an experiment. Each of these begin with a transparent layer. On top of this some small rods and ribbons are added. Due to the thickness of these items, when the top clear layer is added, air will be trapped as the fusing process begins and this will lead to bubbles between the layers. It is hard to control these bubbles and I am hoping that these will be small bubbles that add to the interest of the soap dish.
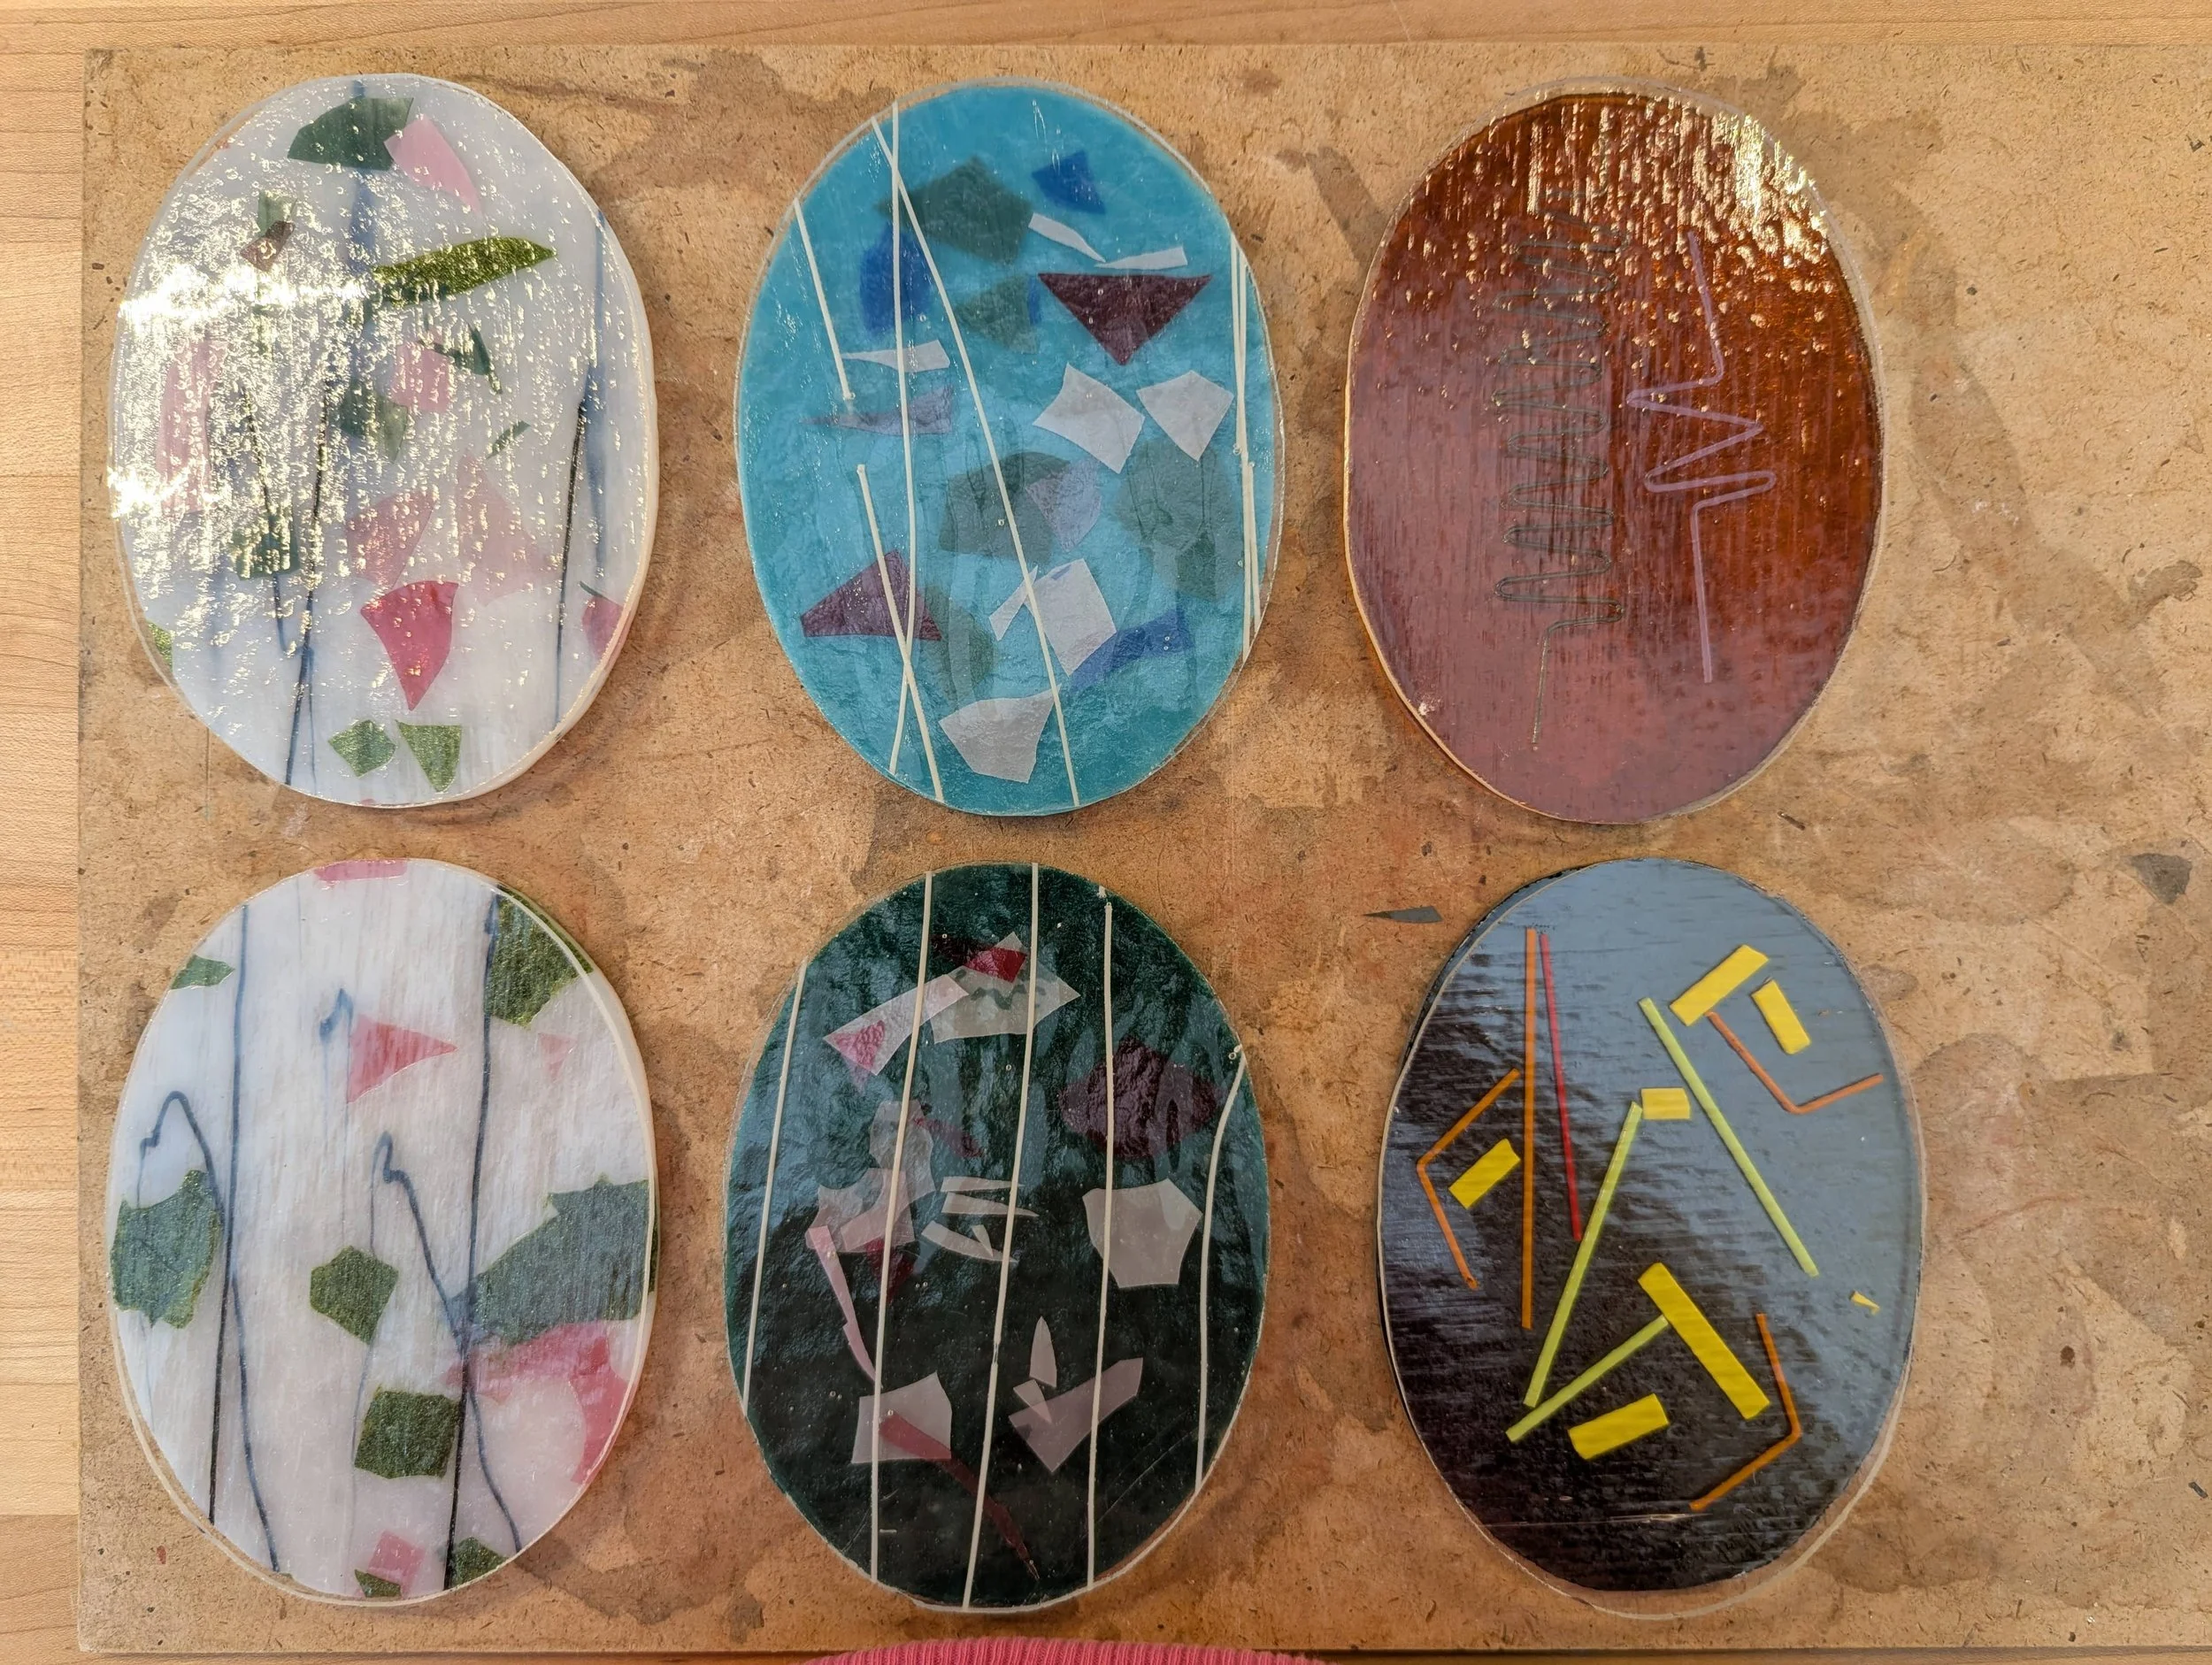
All of these soap dishes will go in the kiln for a full fuse. Next week we can see how they fused and move to the next step.
If there is a particular item, color or design for an object that springs to mind and you want to know if we can create it, get in touch and we will see what we can do. Contact us by emailing here or contact us on Facebook.